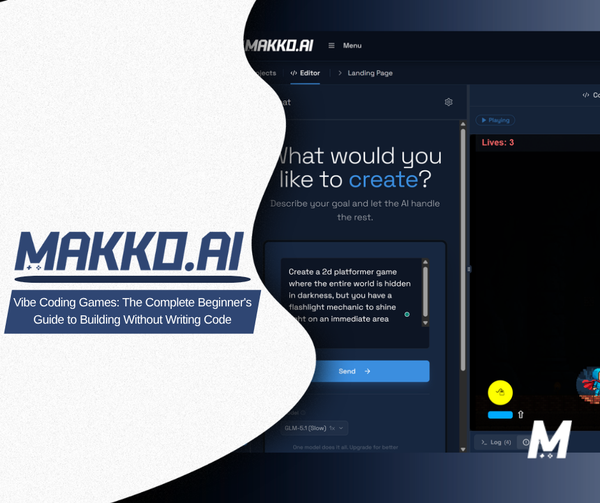
How to Make a Game Without Coding: The Complete AI Walkthrough
Learn how to make a 2D game without coding or drawing using AI. Complete Art Studio workflow — concept art, characters, backgrounds, and animations.

The question people ask before they start is almost always the same: do I need to know how to code to make a game? The honest answer is no — but the follow-up question matters more. What do you need instead?
Making a game without coding is not about finding a shortcut around the hard parts. It is about redirecting your effort from implementation to creative direction. The work shifts from writing logic to describing what you want, from debugging scripts to refining art, from managing file structures to building a visual world that feels coherent. That is a different kind of work, and for most people it is significantly more accessible than learning a programming language.
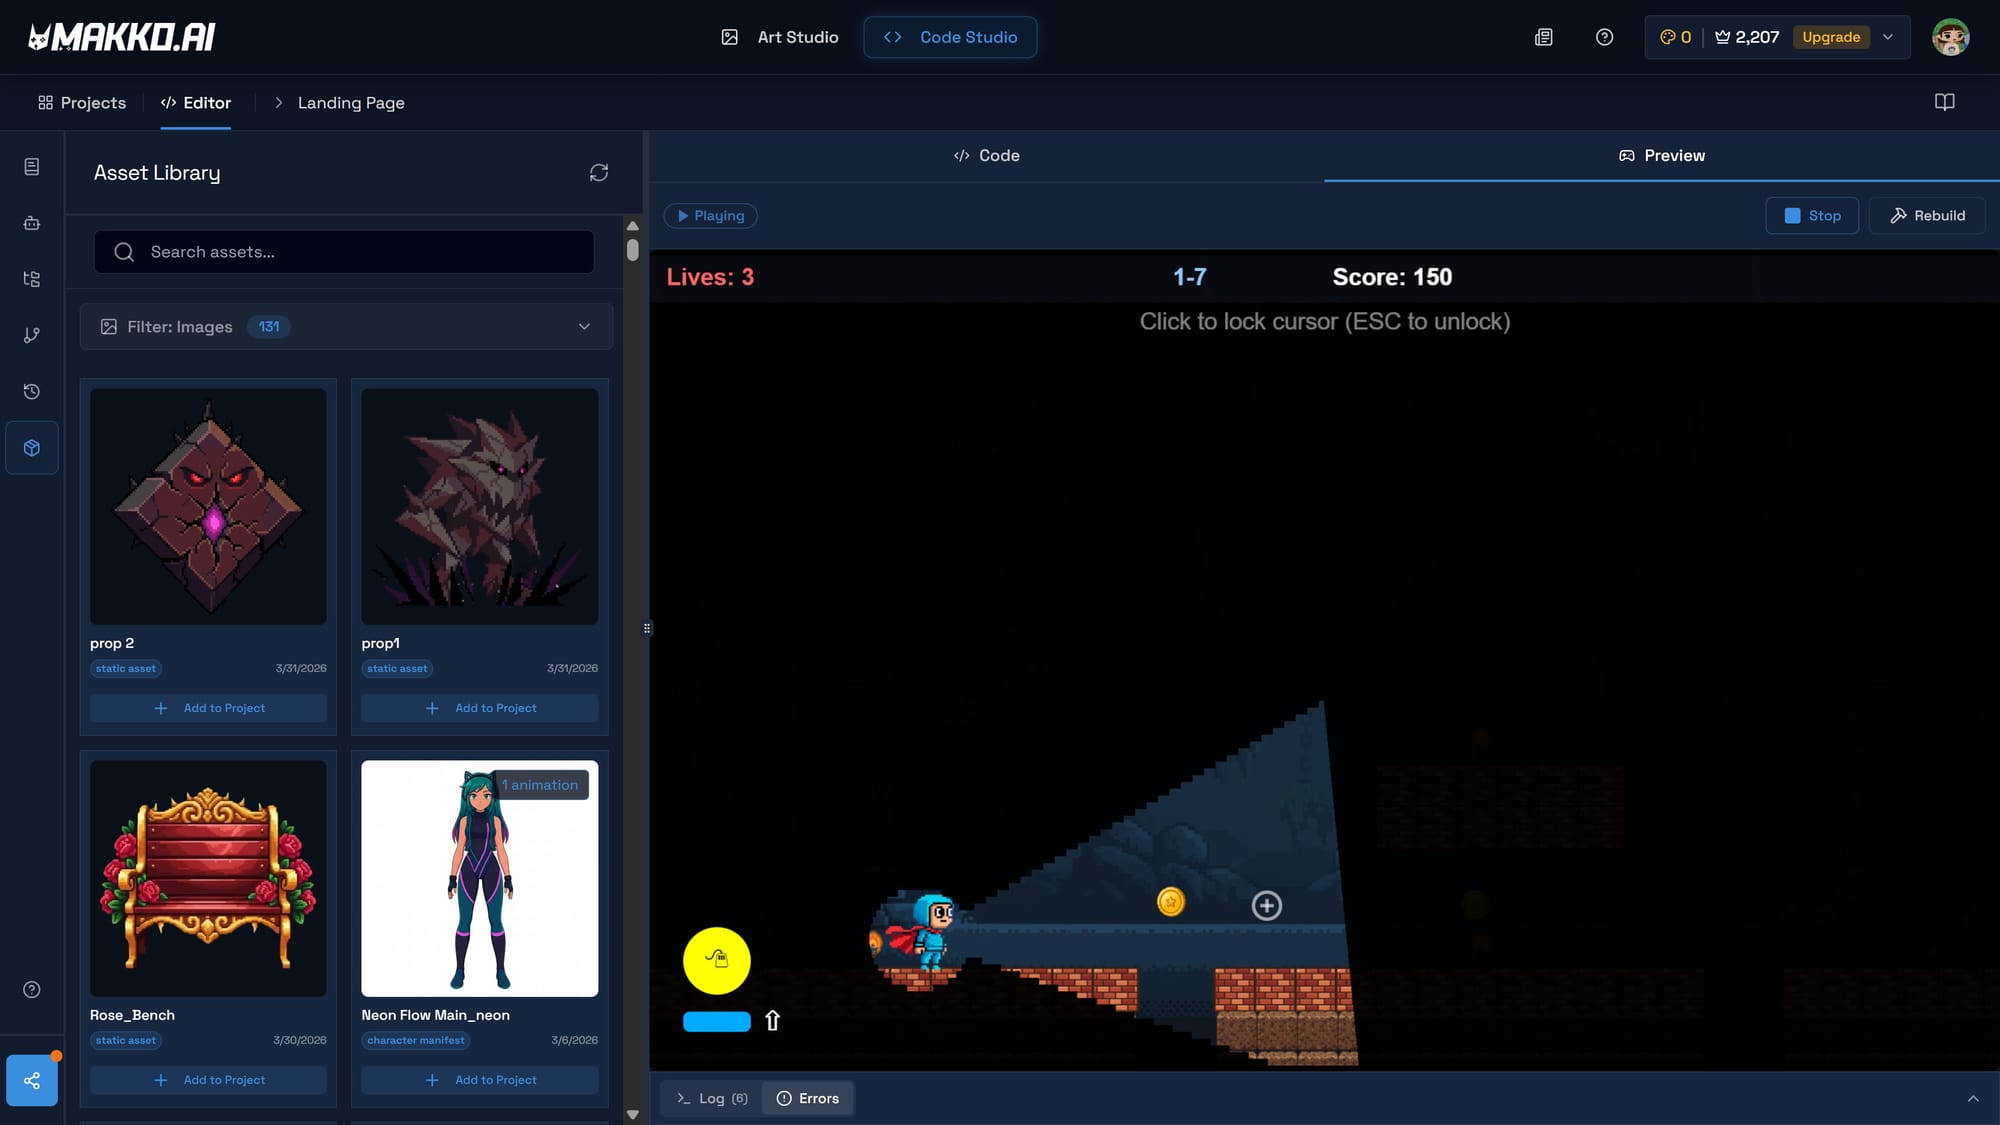
This guide covers the complete workflow for making a 2D game without coding using Makko's Art Studio. Every step is based on the real production process used to build the Flashlight Platformer — a complete 2D game made without writing a single line of code and without drawing a single asset by hand.
Why Most People Think They Need to Code
The assumption that game development requires coding comes from how games have traditionally been built. Traditional game engines like Unity and Godot are built around code. You write scripts to define how characters move, how enemies behave, when levels end, and what happens when the player does anything. Every system requires explicit implementation in a programming language.
That is still true for large-scale productions with dedicated engineering teams. But for a solo creator building a 2D game, a prototype, or a personal project, the coding requirement has become optional rather than mandatory. No-code game development tools have existed for years, and AI has made them dramatically more capable.
The more persistent blocker for most people is not coding — it is art. Even if you find a no-code tool that handles game logic, you still need characters, backgrounds, objects, and animations. Traditional game asset creation requires drawing skills, animation software, and significant time investment. For creators without an art background, that gap has historically been just as hard to cross as the coding requirement.
An AI game art generator removes both blockers. No drawing skills. No coding. Just a description of what you want and a workflow for turning that description into a complete game. That is what this guide covers.
Step 1: Start With a Collection and Concept Art
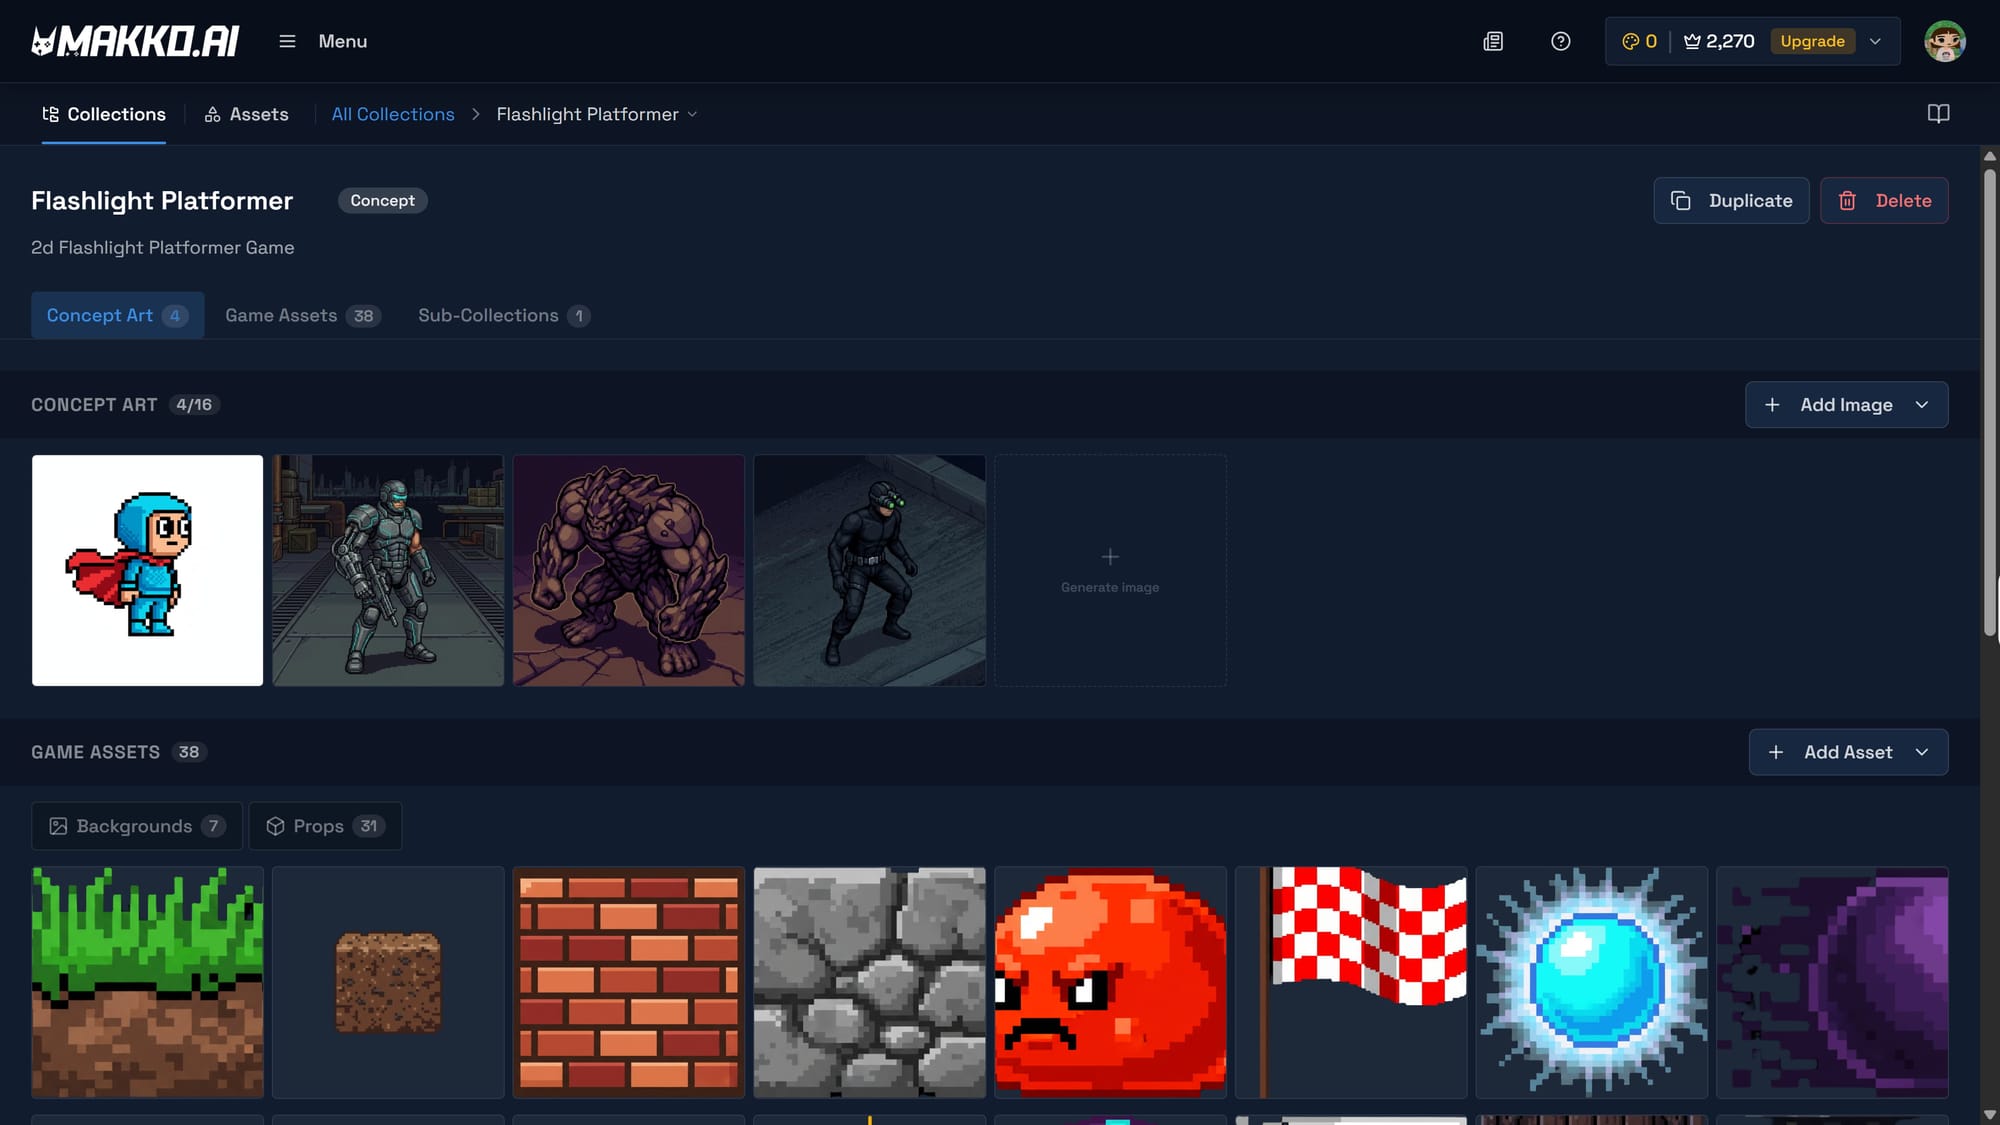
Every game in Art Studio starts with a Collection. A Collection is the project container for your entire game's visual world. Everything you create — characters, backgrounds, objects, animations — lives inside it, and everything inherits the same visual direction.
To create one, open Art Studio and click Create a New Collection. Name it after your game. For the Flashlight Platformer, the Collection is named exactly that — a simple, descriptive name that makes the project easy to find and manage as it grows.
Once the Collection exists, the first thing you create inside it is concept art. This is the most important step in the entire workflow and the one most people skip when they are new to AI game art tools. Concept art is not decoration — it is the visual foundation everything else references. When you generate a character or a background later, the AI uses your concept art as the style anchor that keeps all your assets looking like they belong in the same game.
For the Flashlight Platformer, the concept art established a dark atmospheric world — stone corridors, flickering light sources, a mood somewhere between horror and puzzle-platformer. That visual direction was set in the first generation session and carried through every asset created afterward. The torch prop, the stone arch background, the character design — all of them look like they belong in the same game because they all referenced the same concept art foundation.
Write your concept art prompt as a world description, not an asset description. Describe the mood, the setting, the visual atmosphere. "A dark underground platformer world with stone walls, flickering torches, and a claustrophobic feel" is more useful than "a stone wall." The goal at this stage is to establish a visual direction, not generate a specific asset.
Step 2: Build Your Characters
With concept art in place, create a sub-collection for your characters. A sub-collection is a folder inside your main Collection. You might have one for the player character, one for enemies, one for NPCs. Each draws from the same concept art reference as the parent Collection, which is how visual consistency is maintained without any manual work on your part.
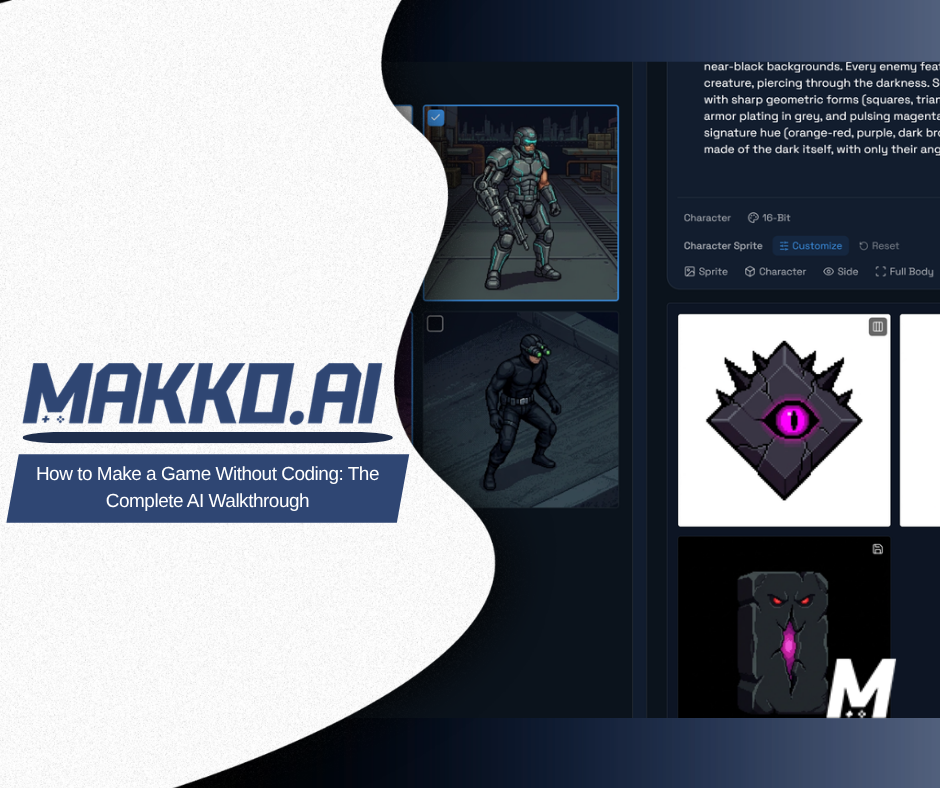
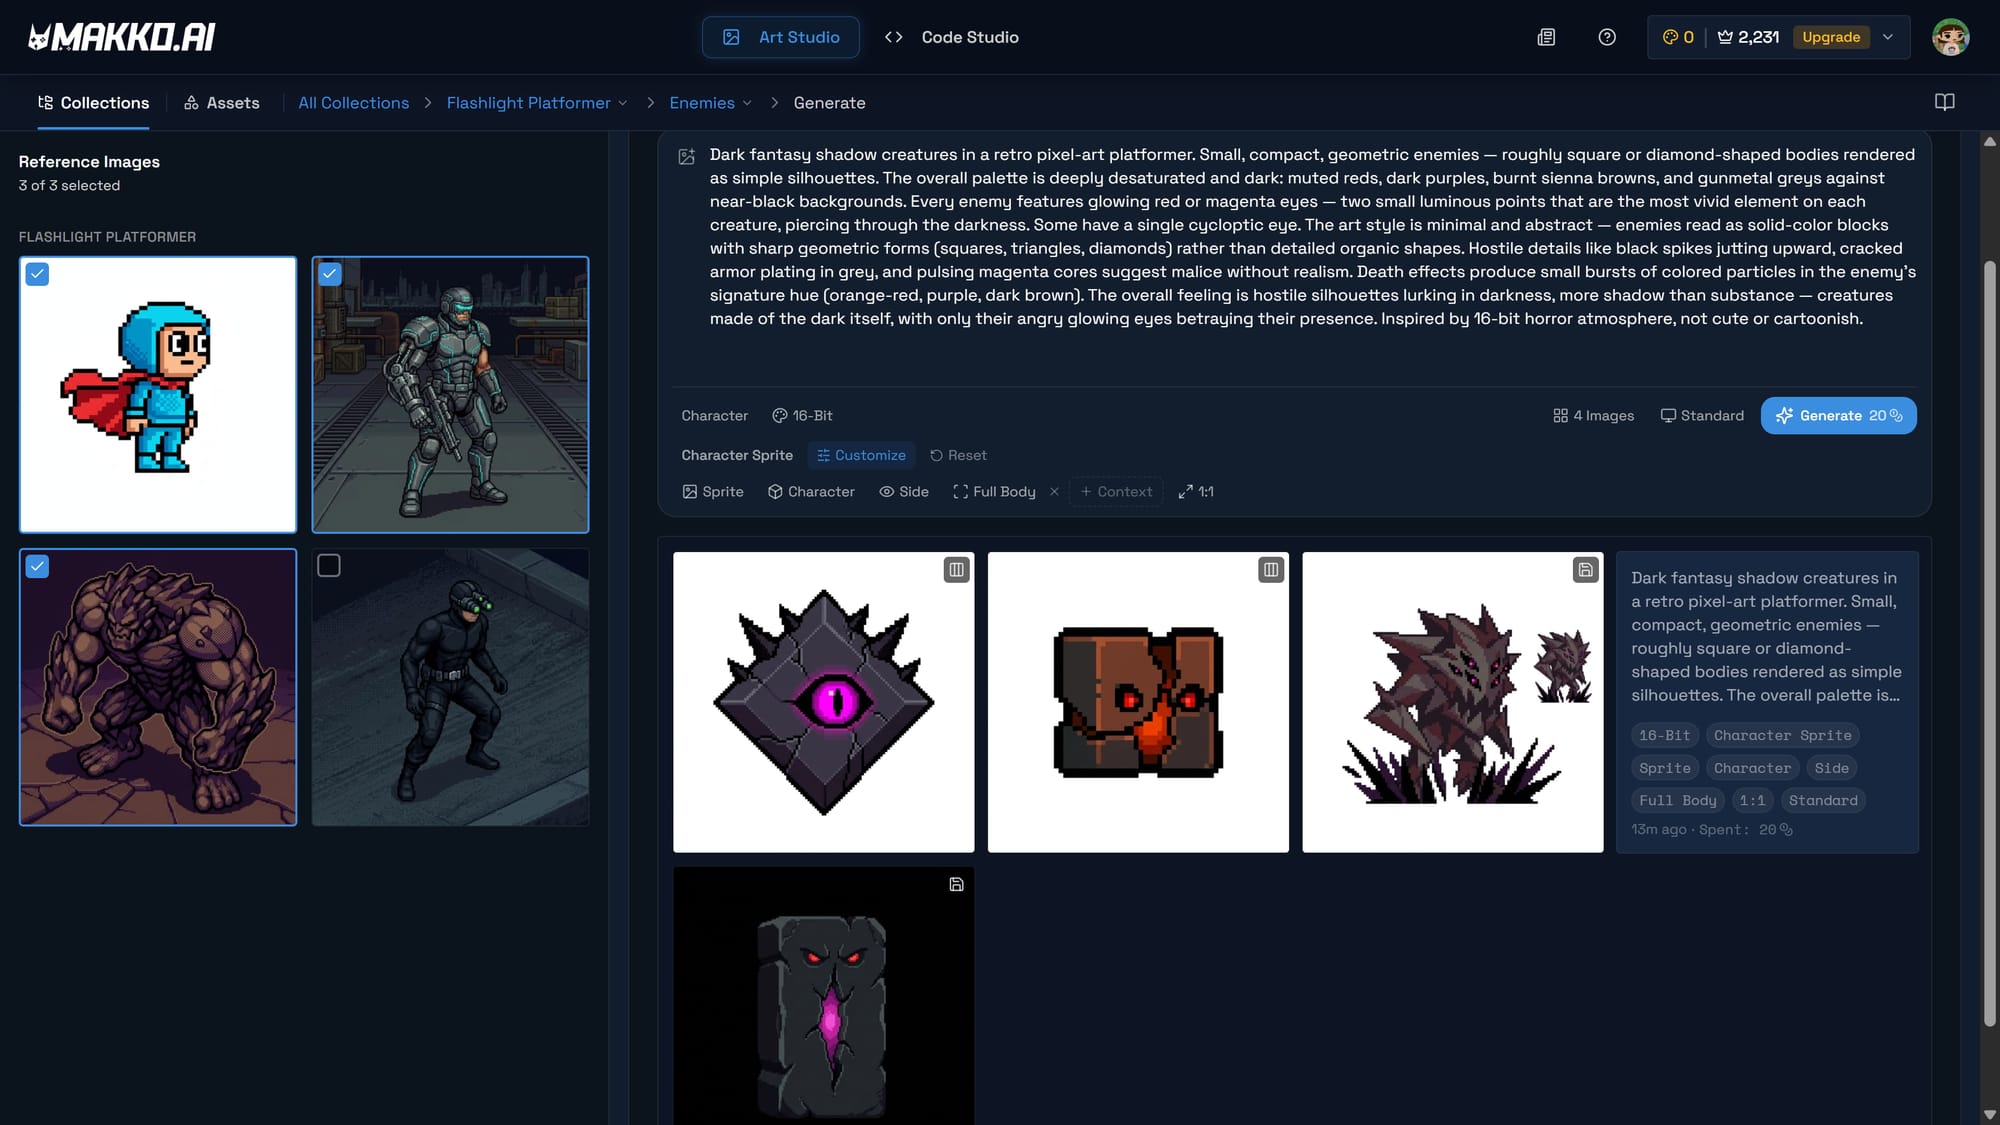
Inside the character sub-collection, set your generation controls before writing a prompt. Select up to three concept images as AI Reference Guidance — these are the style anchors for this specific generation. Set the Asset Type to Character and choose an Art Style. For the Flashlight Platformer, 16-Bit Pixel Art was the right choice — it matches the dark atmospheric mood and produces crisp, game-ready character sprites that feel period-appropriate for the platformer genre.
Then write your character prompt. Be specific about the details that matter for gameplay. The Flashlight Platformer's main character needed to read clearly against dark backgrounds, have a silhouette that was immediately recognizable during fast movement, and carry a light source that made visual sense in the game world. The prompt described all of those requirements in plain language, and the AI produced a character that met them.
The first result is a starting point. Use the Iterate workflow to refine it — click the generated image, describe what needs to change, and generate a revised version. The iteration history stacks in a carousel so you can compare versions and select the one that works best. When the character is right, save it to the Collection's reference art. It now becomes part of the style anchor for everything else you generate.
Step 3: Create Backgrounds and Objects
Characters need a world to exist in. Create a sub-collection for backgrounds and another for objects or props. The same workflow applies — select concept art references, set the Asset Type to Background or Prop, keep the same Art Style you used for characters, and write a prompt describing what you need.
For the Flashlight Platformer, the backgrounds needed to feel like underground stone corridors — tileable sections that could repeat across levels without looking obviously repetitive. The props needed to be interactive or environmental elements that fit the torch-and-darkness theme: stone platforms, archways, wall-mounted torches, spike traps.
The most important thing at this stage is maintaining the art style setting. Every background and every prop was generated using the same 16-Bit Pixel Art style as the character. This is the decision that determines whether your game looks like a designed world or a collection of assets from different sources. Change the art style between generations and the game will look assembled from a stock library. Keep it consistent and the game looks like it was made by one artist with one coherent vision — even though no drawing was involved.
Props and objects automatically get transparent backgrounds when generated as Prop asset type. This is a critical technical detail for anyone asking how to make a game without coding — game engines need transparent backgrounds on objects and characters so they can be layered correctly over backgrounds. Art Studio handles this automatically based on the Asset Type selection. You do not need Photoshop or any image editing tool to prepare assets for use in a game.
Step 4: Animate Your Characters
A character that cannot move is a prop, not a player. Animation is the step that transforms a still image into something that can run, jump, attack, and idle — the behavioral layer that makes a character feel alive in a game world.
In Art Studio, animations are generated inside the character's details page. Click Create Animation, name the animation state — Run, Jump, Idle, Attack — and write a prompt describing the movement. The AI generates an animated sprite sheet using the character's concept art as visual reference. This is what keeps the animated version consistent with the still character you built — the AI is not interpreting the animation prompt from scratch, it is animating the specific character you already defined.
For a platformer, the essential animation states are run, jump, idle, and at minimum one action state — an attack, a dash, or in the case of the Flashlight Platformer, a light-throw animation. Write each animation prompt with the gameplay context in mind. A platformer run needs to feel fast and responsive. A jump needs weight at the peak. An idle needs to feel alive without being distracting. Describe the feeling of the movement, not just the action itself.
After generation, extract the frames and clean the animation loop. Raw generated animations often include transition frames at the start or end that do not belong in the loop. Remove those frames using the frame editor, then bake a new sprite sheet. A clean loop is the difference between an animation that plays smoothly and one that stutters visibly during gameplay.
Sprite animation generation costs more credits than still asset generation because of the additional processing involved in producing animation-ready frames. Plan your animation list before generating — know which states your game actually needs and generate those, rather than generating everything and then deciding. For a basic platformer, four to six animation states covers the core gameplay loop completely.
How the Flashlight Platformer Was Built
The Flashlight Platformer is a complete 2D browser game built entirely inside Makko without coding and without hand-drawn art. The production process followed exactly the workflow described above.
The Collection established the dark underground platformer world through concept art first. That concept art defined the color palette — deep blues and grays, warm torch light cutting through darkness — and the visual style that everything else would match. It was the single most important generation session in the entire project because it determined what every subsequent asset would look like.
Characters came next. The main player character was generated in 16-Bit Pixel Art style, iterated through several versions to get the silhouette right for fast-moving platformer gameplay, and then animated with run, jump, idle, and light-throw states. Each animation used the character's concept art as reference, so the animated sprite matched the still character exactly rather than drifting in style or proportion.
Backgrounds and props were built inside their own sub-collections, all referencing the same concept art. Stone corridor tiles, archway backgrounds, torch props, spike obstacles — every asset was generated in the same 16-Bit Pixel Art style and referenced the same atmospheric concept images. The result is a game where every visual element looks like it belongs in the same world, because it was all built from the same foundation.
The entire art library for the Flashlight Platformer was produced without writing code, without drawing anything, and without using any image editing software. Every asset went from text description to game-ready output inside Art Studio.
The Consistency Problem — and Why Most No-Code Tools Do Not Solve It
Most people who try to make a game without coding using general AI image tools run into the same problem. Individual assets look good. But when you put them together in a game, they do not look like they belong together. The character style does not match the background style. The props look like they came from a different game entirely. The overall visual impression is that of a demo assembled from stock assets rather than a designed game world.
This is the consistent game art problem, and it is the hardest problem in AI game art generation. Each generation is a fresh interpretation of a text prompt by the AI model. Without a structural system to anchor all generations to the same visual direction, every asset drifts.
The Collections system is the answer to this problem. By generating concept art first and using it as AI Reference Guidance for every subsequent generation, you are giving the AI the same visual anchor for every asset in the project. The style does not drift because every generation references the same foundation. You do not need to manage this manually or write detailed style descriptions into every prompt — the reference images carry that information automatically.
No competitor in the AI game art space has an equivalent system. Tools like PixelLab, AutoSprite, and God Mode AI generate individual assets well but have no mechanism for maintaining consistency across an entire game's worth of art. Midjourney and Leonardo produce visually impressive results but require manual style management through prompting, which becomes increasingly difficult to maintain as a project grows.
What You Actually Need to Make a Game Without Coding
Making a game without coding does not mean making a game without any skill. The skills shift. Here is what actually matters.
The ability to describe what you want clearly. Every generation in Art Studio starts with a text description. Creators who can describe their vision specifically and in plain language get better results than creators who write vague or generic prompts. This is not a technical skill — it is a communication skill. It improves quickly with practice.
Creative direction. Art Studio executes your creative decisions — it does not make them. You decide what the game world looks like, who the characters are, what visual style fits the tone. The AI handles the execution. Creators with a clear vision produce more coherent games than creators who generate randomly and select from whatever appears.
Iteration patience. The first result of any generation is a starting point, not a final output. Good results come from the Iterate workflow — generating, evaluating, refining, generating again. Creators who stop at the first result get average outputs. Creators who iterate get outputs that match their vision.
Workflow discipline. Creating concept art first, maintaining a consistent art style, saving finished assets to the Collection's reference art, building sub-collections for different asset types — these are habits that compound over the course of a project. The Flashlight Platformer looks coherent because every step of its production followed this workflow. Projects that skip the foundation steps produce assets that do not fit together.
Quick Reference: The No-Code Game Art Workflow
- Create a Collection and name it after your game.
- Generate concept art that establishes the world's visual direction — mood, color, atmosphere.
- Create a character sub-collection. Set AI Reference Images to your concept art, set Art Style, generate your main character.
- Iterate on the character until the silhouette and details are right. Save the finished result to reference art.
- Create sub-collections for backgrounds and props. Use the same art style and concept art references. Generate each asset type.
- Return to the character details page. Create animations — run, jump, idle, and any action states your game requires. Clean each animation loop before baking the sprite sheet.
- Review the full asset library. Everything should look like it belongs in the same world. If anything drifts in style, identify where the art style or reference images diverged and regenerate.
For detailed walkthroughs and live feature demos, visit the Makko YouTube channel.
Related Reading
- AI Game Art Generator: Characters, Backgrounds, Animations and Why Consistency Is the Hard Part
- AI Character Creator vs Sprite Sheets: What's Actually Happening
- How to Add Animated Characters to a Game Using Makko
- Can You Make a Game With AI Without Coding? (Real Examples)
- What Is Makko Art Studio? The AI Game Asset Generator Built for Game Developers