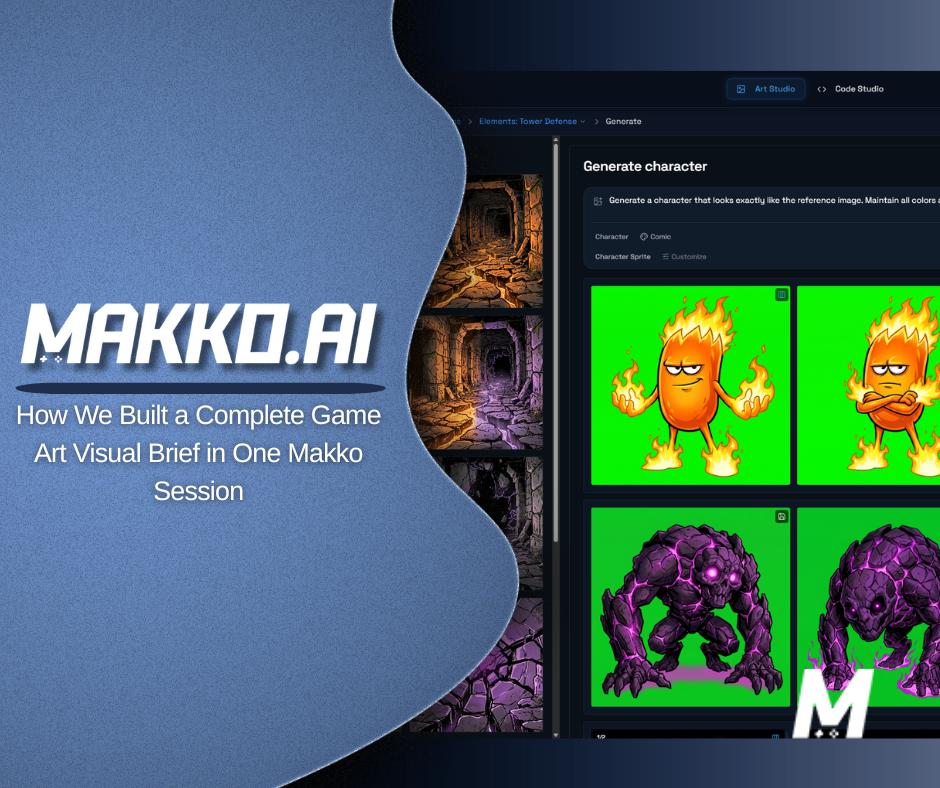
How We Built a Complete Game Art Visual Brief in One Makko Session
Build a complete game art visual brief in one Makko session. World atmosphere, color palette, faction materials, and your first enemy character.

A visual brief is the document a game studio builds before any character gets made. It establishes the world's atmosphere, color language, faction identity, and material style so every artist, and every AI generation, starts from shared context rather than from scratch. This article walks through how to build one inside a Makko Collection in a single session, using the Sector Scavengers tower defense project as a working example.
Every professional game studio builds a visual brief before a single character gets made.
It is the document that holds a world together. The style guide every artist references so nothing looks like it came from a different game. A record of decisions about color, atmosphere, material, and faction identity that every future asset inherits from.
It usually costs hundreds of dollars to commission. Takes days to produce. And most solo devs never have one.
We built one inside a Makko Collection in a single session. Eight concept images. One character sprite. And now every future generation in this project starts from that foundation instead of from nothing.
This is Episode 2 of the Sector Scavengers devlog. In Episode 1 we turned a sketch into Flamey, our first tower character. One character is a start. A visual brief is a system. Here is how we built it.
Why a Visual Brief Changes the Starting Conditions
When you start a generation with one character as your only reference, Makko works from that character's style. It works for that moment. But the second you need something different, a background, an enemy, a faction object, you are starting from partial context. The output reflects that.
A visual brief changes the starting conditions entirely. Instead of one character, your Collection contains a world in two states, a complete elemental color palette, a faction material study, the game's central object, and a corrupted environment. Every new generation draws from all of it without you having to explain any of it again.
That is the difference between consistent AI game art and a collection of assets that happen to share a vibe.
One rule carries through every step in this session: select the right references for the right job. Do not pull in references that are not directly relevant to what you are generating. More context is not always better context.
Watch the Full Walkthrough
The video below shows every generation, every reference selection, and every iteration decision in real time. The steps below break down the reasoning behind each one.
Step 1: World Atmosphere
We are building a strategic tower defense where elemental guardians defend their ancient world from a creeping Void. Flamey is our first tower. But one character does not give Makko enough to understand what this world actually is, its palette, its architecture, its atmosphere.
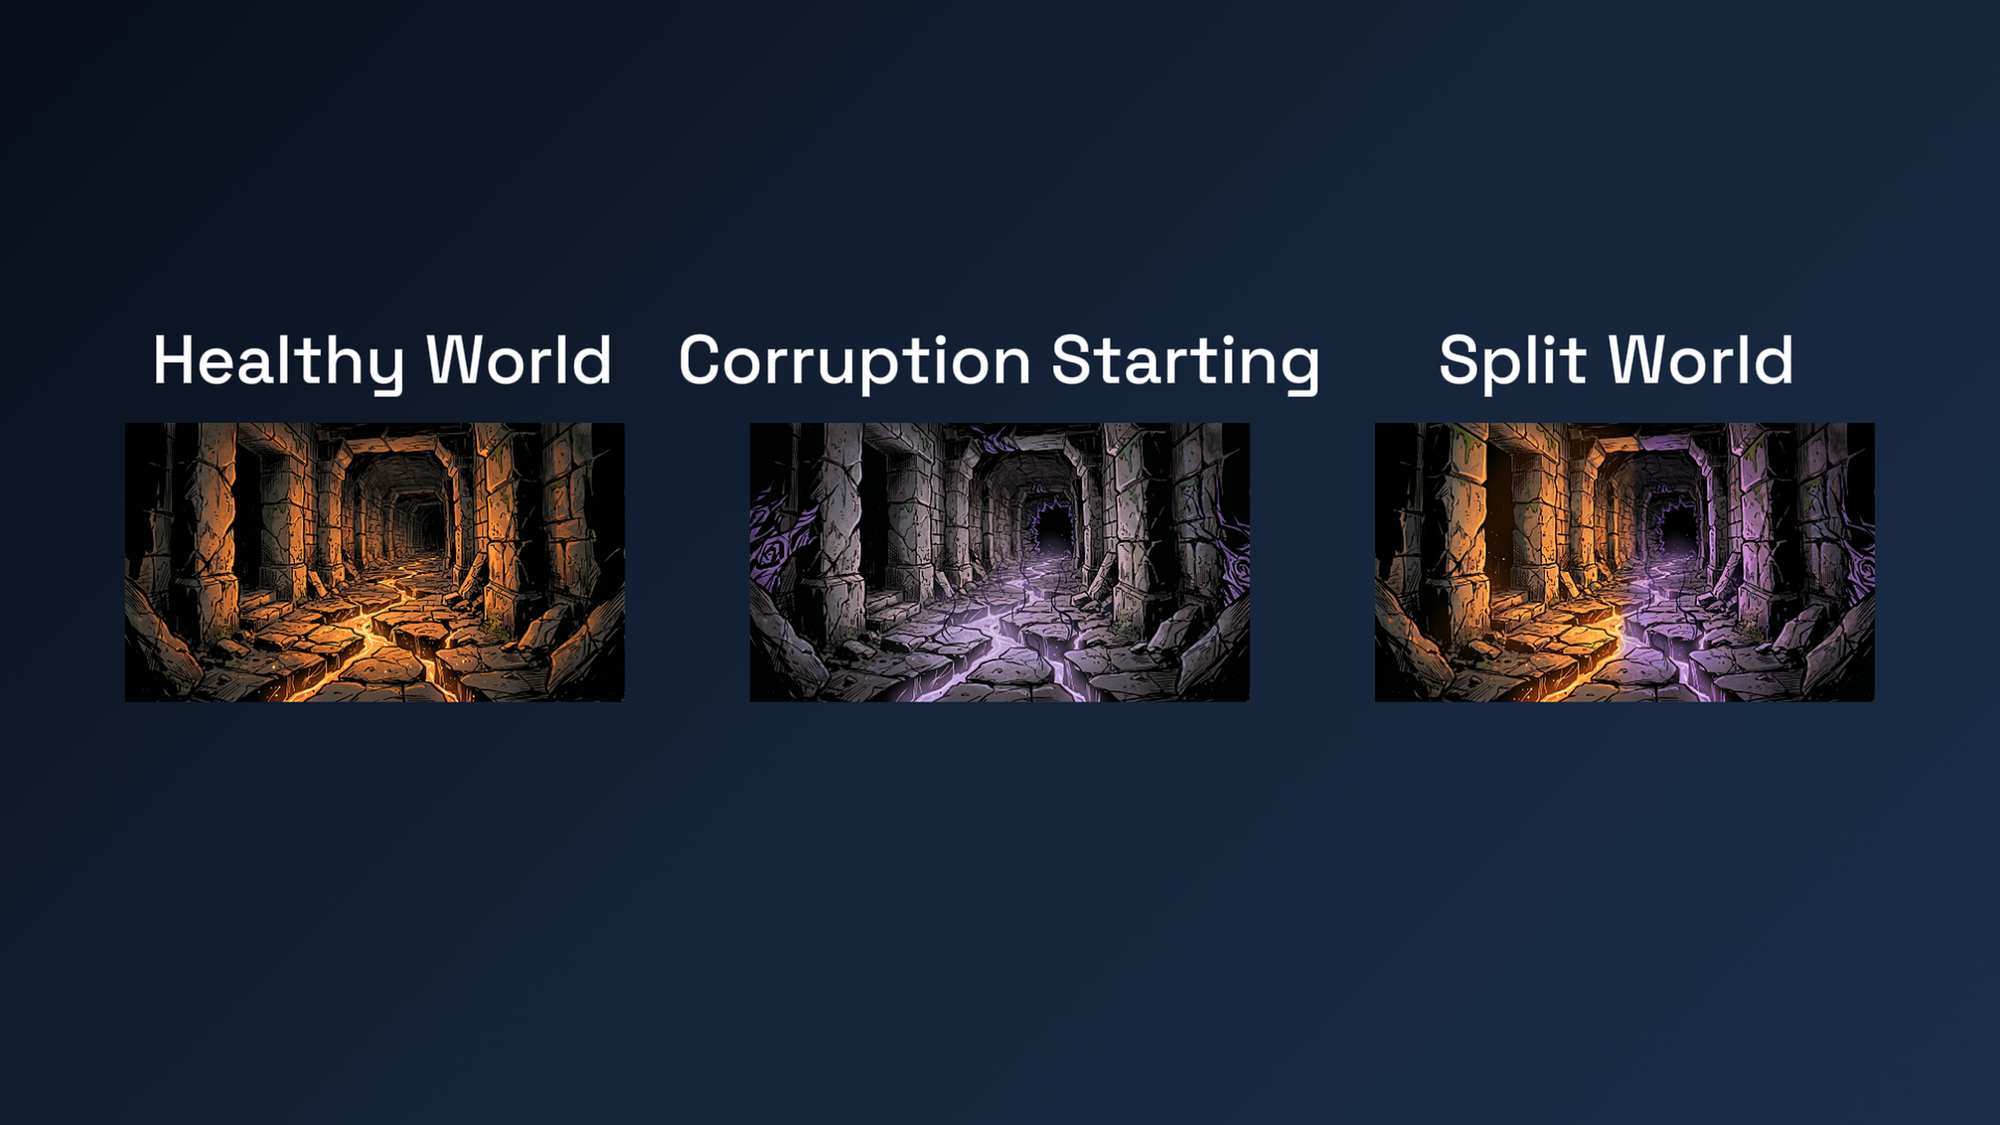
So before generating anything else, we build the world. Three images, three jobs.
The first image has no references selected. It establishes the world in a healthy state: warm light, ancient stone, elemental energy intact. This is the foundation everything else inherits from. Nothing is selected from the Collection because nothing exists yet.
For the second image, image 1 is selected as a reference. The prompt tells Makko what to inherit and what to introduce on top of it: the same world, but the Void beginning to consume it. Corruption at the edges. Warm light losing ground to cold darkness.
For the third image, both images 1 and 2 are selected. The job is a split environment showing both world states simultaneously. That single frame shows Makko the full visual spectrum of this game in one image.
The prompt structure at each step follows the same idea: tell Makko what to inherit from the references and what to build from that foundation. Not a description from scratch. A direction built on what already exists in the Collection.
Three images in. The world has a visual language.
Step 2: The Color Palette
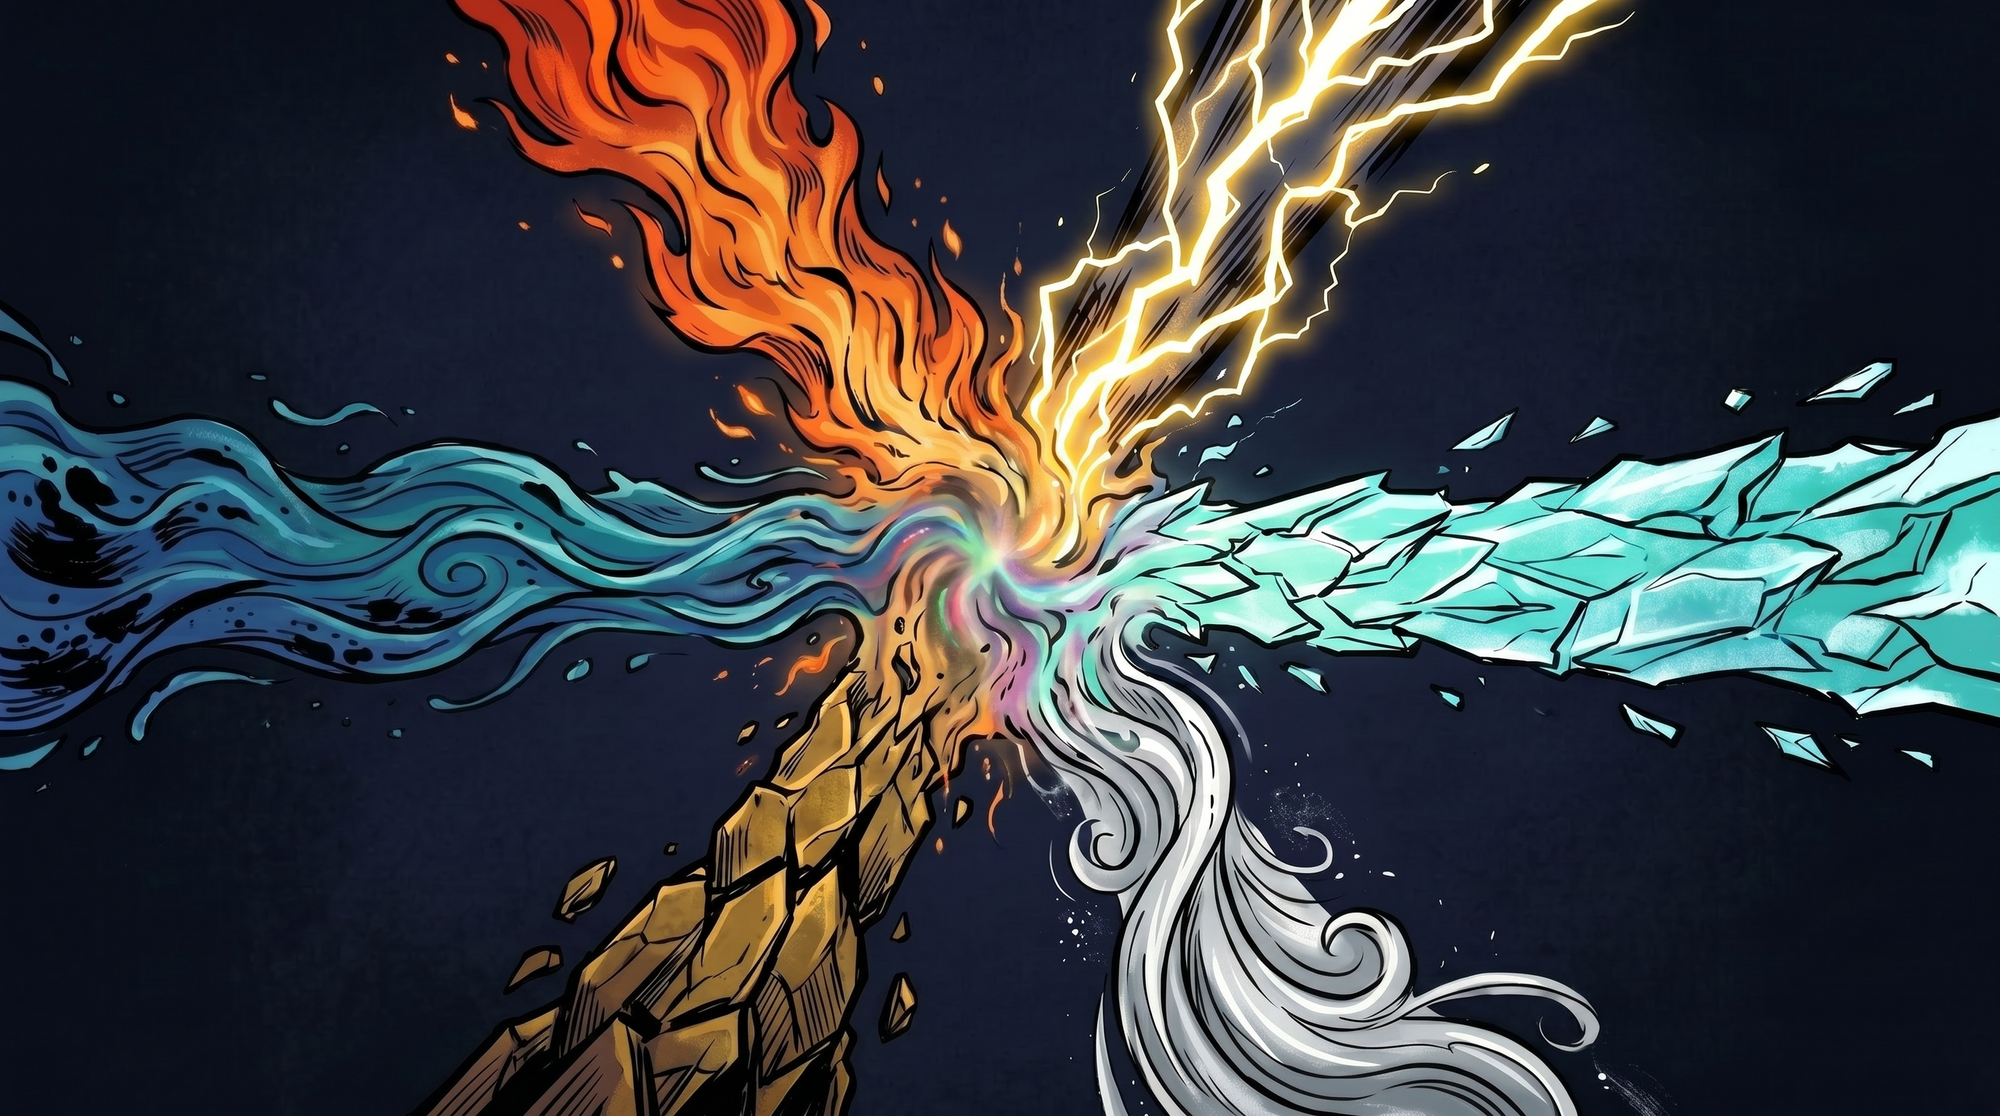
Six elements. Six different color identities. If Makko does not know what fire looks like versus what lightning looks like, those identities will bleed into each other the moment you start generating elemental characters.
One image handles all of this. All six elements radiating from a central point, each expressing its own color. Images 1, 2, and 3 are selected as references for world context and art style.
The first result needed two fixes. A geometric shape at the center that did not belong. And lightning came out purple, which is the Void's color. Purple is spoken for.
Two iterations. One fix each. Not both at once.
When you stack multiple changes in a single iteration, Makko makes both changes simultaneously but may reinterpret parts of the image it was not supposed to touch. Fix one thing and you risk breaking another. One change per iteration is the rule of thumb. You can get lucky combining fixes, but one at a time is more consistent.
Makko now knows the color language of this world. Every elemental character generated from this Collection going forward will pull from this palette without being told to.
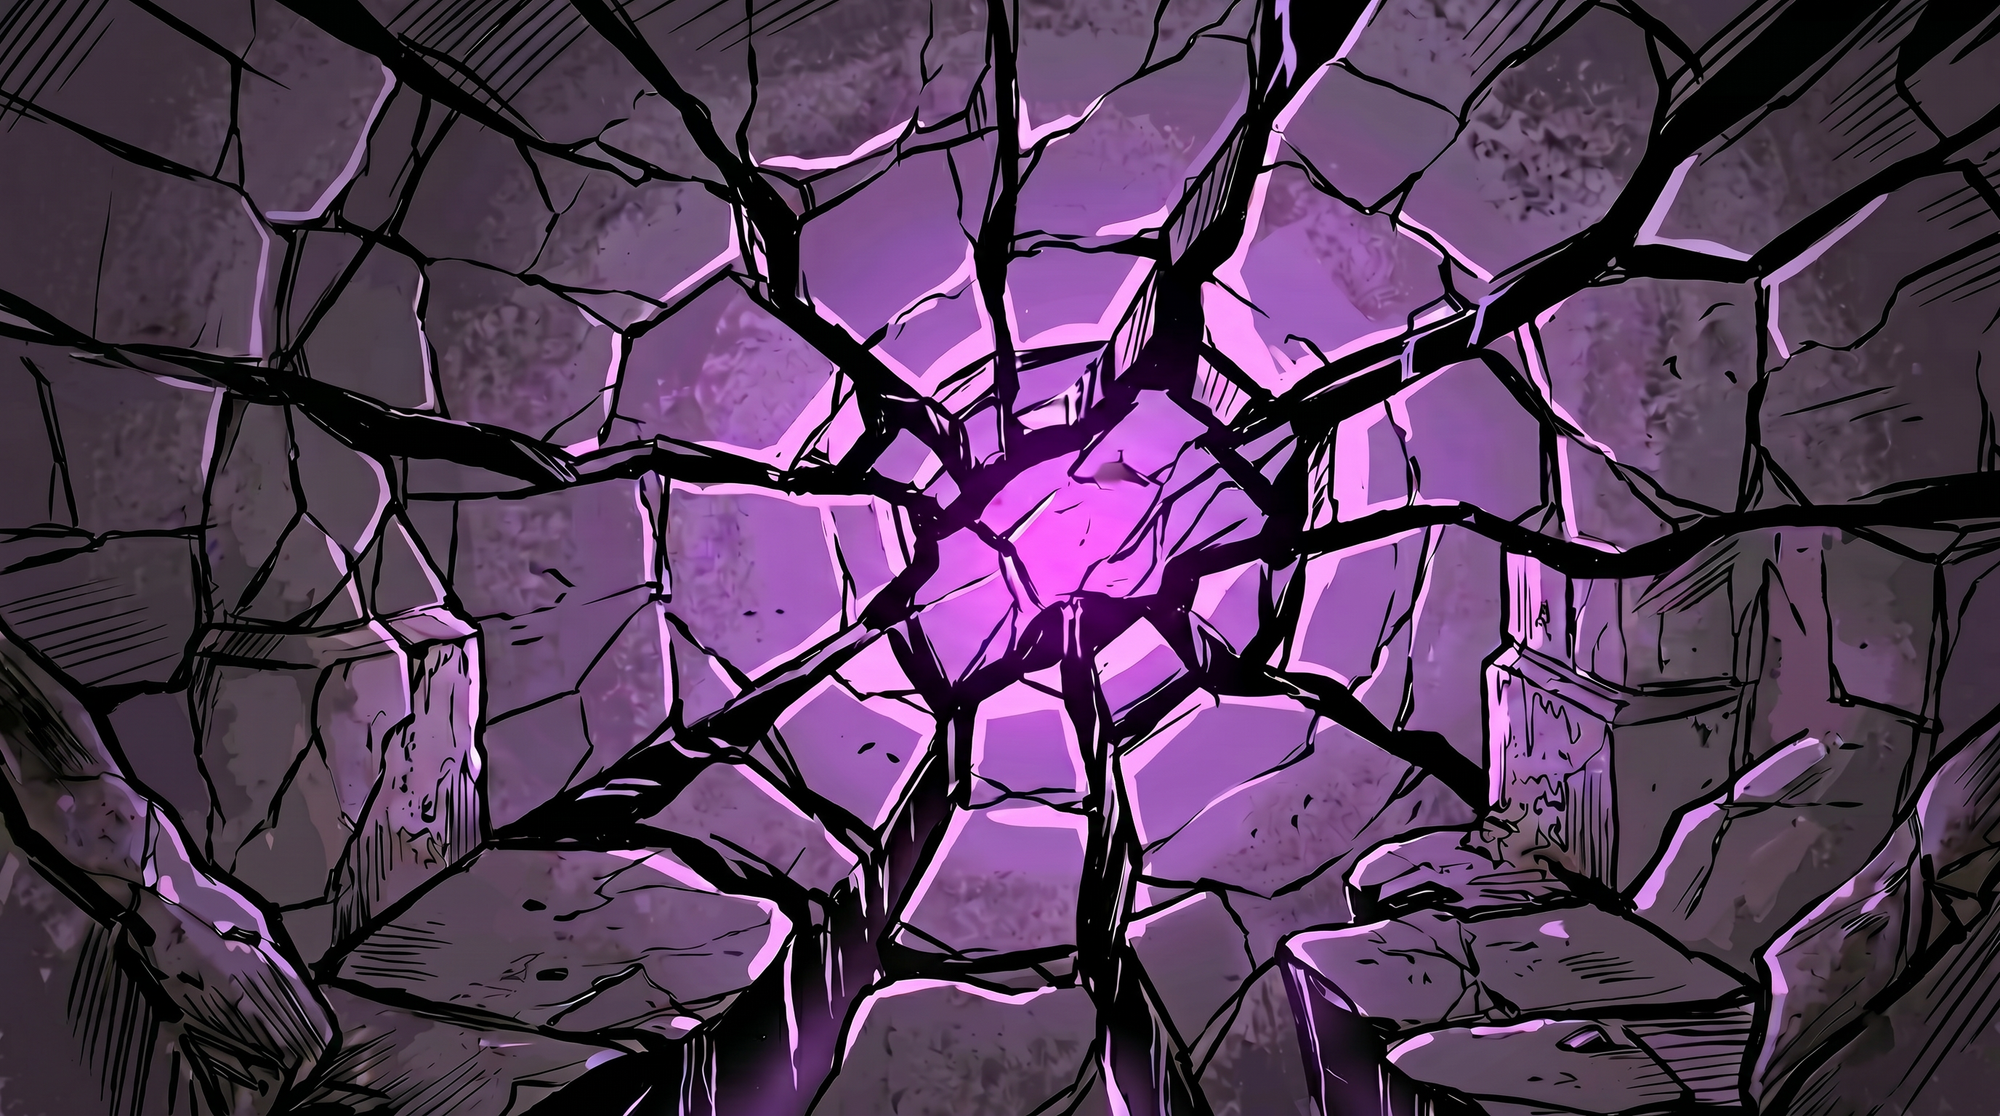
Step 3: Void Palette and Material Study
Images 2 and 3 show the Void starting to corrupt the elemental world, but they do not establish what the Void looks like at full strength, or what it looks like as a surface material on a body.
Two images fix this.
The first is a Void environment at full corruption, the world completely consumed. This is what the game looks like when the player is losing.
The second is a close-up material study. Just the surface texture, isolated. Nothing else.
This distinction matters. The material study is what Makko reads when generating Void characters later. Not the environment. The material. Because we need Makko to understand what the Void looks like on a body, not a floor.
The material study took two iterations to isolate correctly. Worth every one of them. This is one of the most important images in the entire brief.
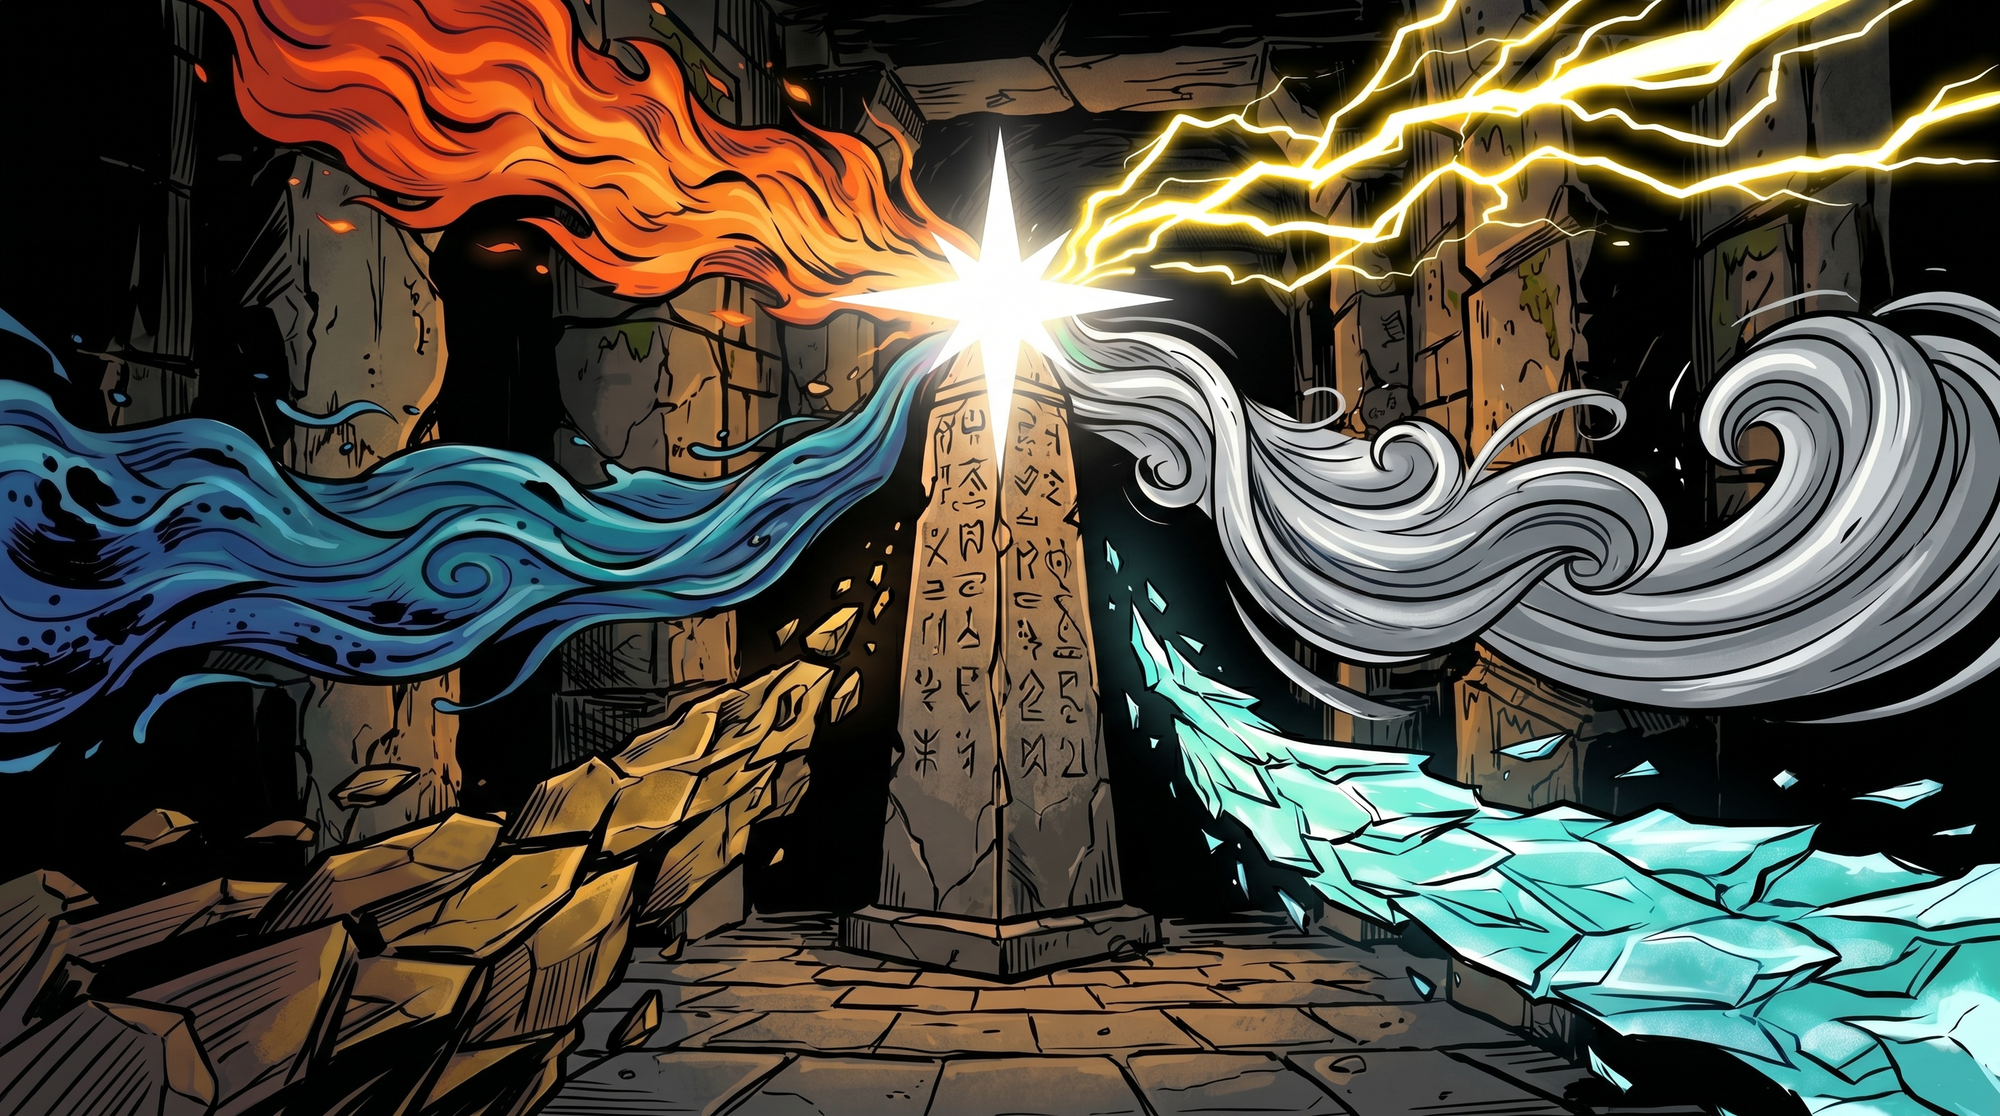
Step 4: The Anchor
The Anchor is the most important object in the game. The point where all six elements converge. The thing the Void is trying to destroy.
In the first attempt, all five existing images were selected as references. Wrong call. Too many references meant Makko tried to honor all of them at once and the output was diluted and confused.
The Anchor only needed two. Image 1 for the stone architecture. The color palette image for the elemental identities. That was it.
The second generation was exactly right. The right reference for the right job.
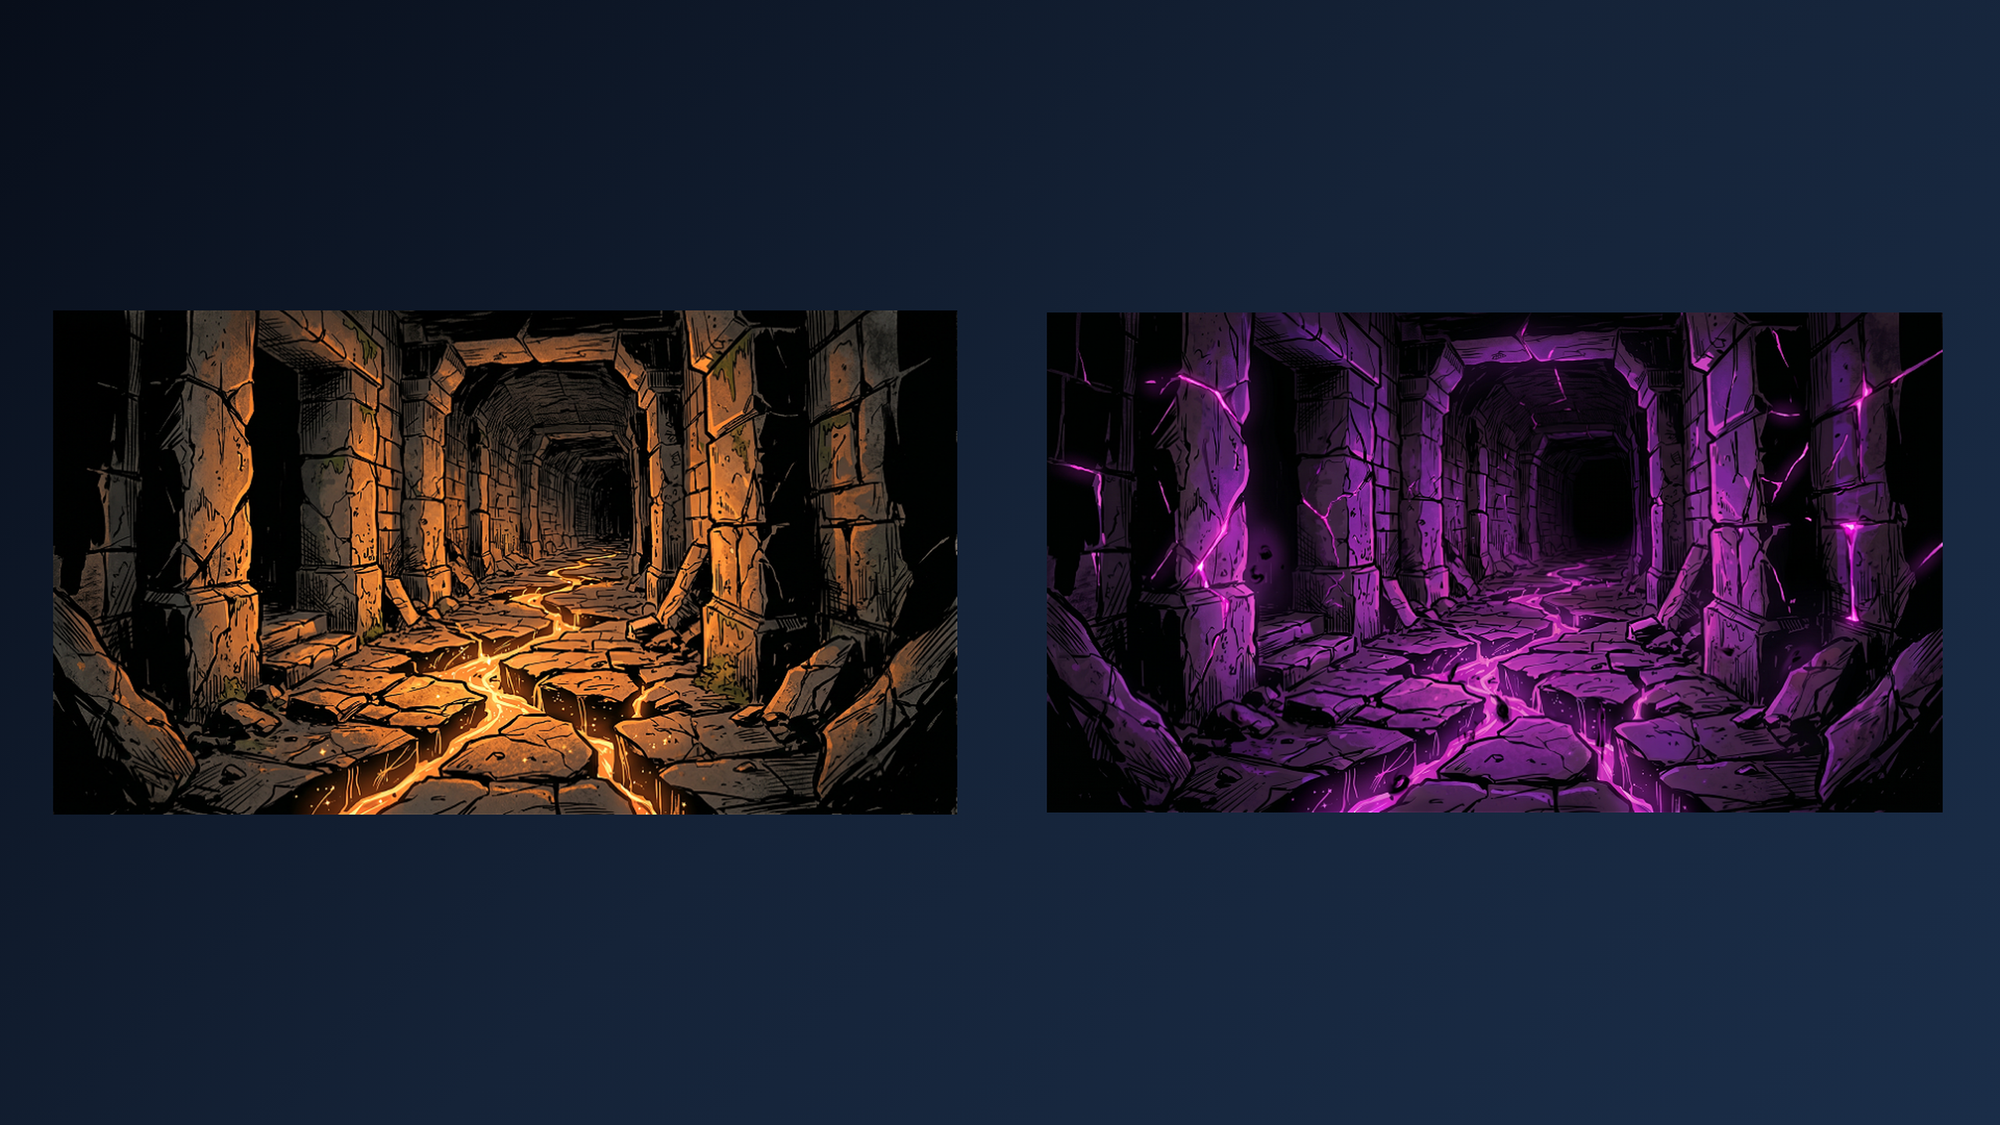
Step 5: Void Environment
Everything the Void material study established gets applied to the world itself.
Same corridor architecture from image 1. This time, fully consumed. This is what the game looks like when the player is losing.
Two references: image 1 for the architecture, the Void material study for the surface texture.
The first result was not aggressive enough. One iteration: push the darkness further, increase the Void light intensity.
Image 1 and this image together are the entire visual story of the game in two frames.
The Six-Step Process at a Glance
If you want to build a visual brief for your own game in Makko, here is the sequence that works:
- World atmosphere. Three images: healthy world with no references, corrupted world using image 1, split environment using both. This gives Makko the full visual range of your game in one session.
- Color palette. One image showing all your game's factions or elements expressing their color identities. Use the world atmosphere images as references. Iterate one fix at a time.
- Faction material study. For any faction with a distinct surface material -- corruption, fire, stone, metal -- generate a close-up material study in isolation. This is the reference that goes into character generation, not the environment image.
- Key objects. Generate your game's most important objects using only the references directly relevant to that object. Resist the urge to select everything. The right reference for the right job.
- Faction environment. Apply the material study to the world architecture. Two references: the world image for structure, the material study for surface. This creates the environmental contrast that tells the game's visual story.
- First character from the new faction. Use the faction environment for material and color. Use an existing character sprite for art style and scale. Generate three results and choose the one that fits the role you need.
Eight images. One session. Everything Makko needs to generate consistent art for this game from here forward is saved in the Collection before you build a single character.

For detailed walkthroughs and live feature demos, visit the Makko YouTube channel.
Related Reading
- How to Use Makko AI Collections: Build Consistent Game Art With AI
- AI Character Generator for Games: How to Create Consistent 2D Characters With AI
- AI Game Art Generator: Characters, Backgrounds, Animations and Why Consistency Is the Hard Part
- Roguelike Devlog: Redesigning a Game UI With an AI 2D Game Maker
- No-Code Roguelike: How I Shipped a Full AI-Generated Game in 10 Days