From Alignment to Hitboxes: The Full 2D Pixel Art Character Pipeline (Week of March 24)
This week's content followed one thread: getting a 2D pixel art character to behave correctly in a game engine. Alignment, anchor points, debug collision boxes, and hitboxes as a connected pipeline — not isolated tips.

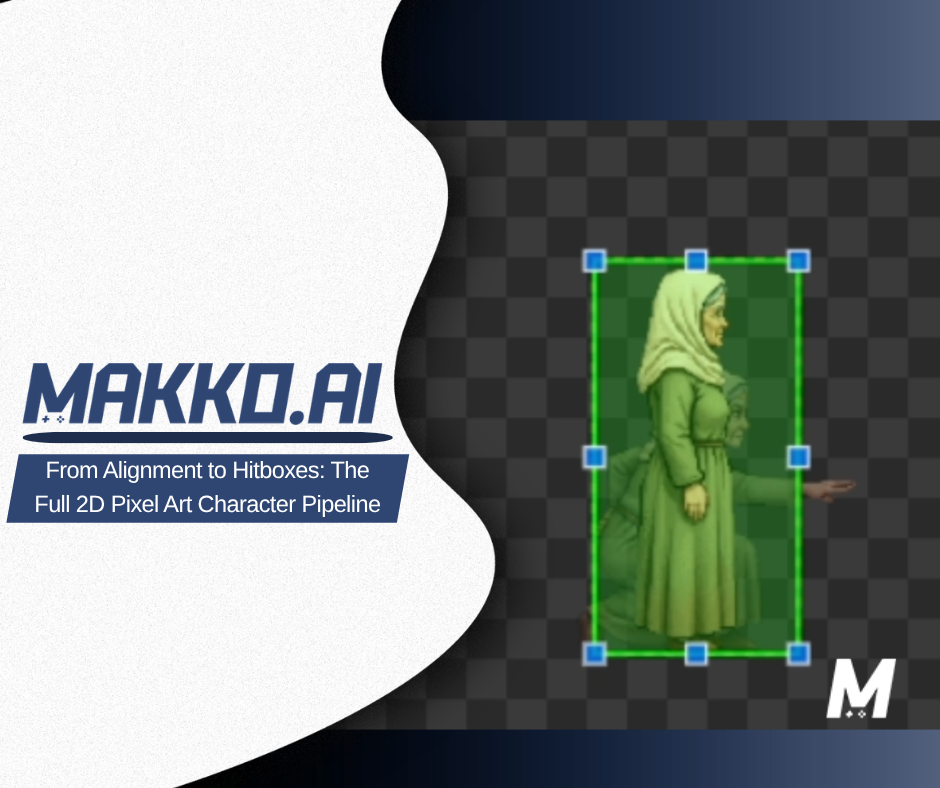
Most pixel art tutorials treat alignment, anchor points, debug positioning, and hitboxes as four separate topics. This week we treated them as one. Every piece of content built directly on the last, covering the complete pipeline any solo developer needs to get a 2D character working correctly in a game engine, not just looking correct in an art tool.
We are walking through this week in reverse, starting with Friday's payoff and working backwards to show how each day's content set it up. This is part of the broader one character, two games series, showing how a single 2D character created in Makko Art Studio can power completely different games without rebuilding the art from scratch.
Friday: hitbox alignment, the payoff of the whole pipeline
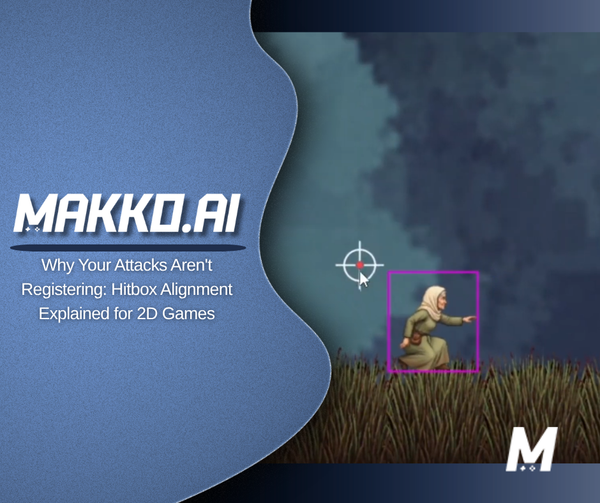
Friday's video is the fourth episode in the Horror Platformer series featuring Granny's Night-Terror and its playable character Grandma Elara. It is also the payoff of everything this week built toward.
Attacks that miss enemies standing directly in front of the player. A character that clips through geometry it should fit through. These are the hitbox problems that make a 2D game feel broken even when the art, animation, and code are all technically correct. The cause is almost always the same: a hitbox configured for the wrong animation state, sized to the maximum extent of the character rather than the majority state, or never updated after the animation was changed.
The video walks through configuring hitboxes per animation state in Makko's Alignment Editor. The core rule: fit the hitbox to the majority state of the animation, not the maximum extent. A character whose arm extends forward during an attack should not have a hitbox that covers the fully extended position for every frame of the cycle. That produces hits that register before the animation looks like a hit, which feels wrong even if the player cannot articulate exactly why.
The episode closes the full series arc: one pixel art character, two games, zero duplication. Everything from alignment to hitboxes, built once, configured per game through the manifest system.
Thursday: debug collision boxes, making the invisible visible
Hitbox configuration only works if you can see what the engine is doing. Thursday addressed the diagnostic step that most tutorials skip entirely. Floating or buried sprites are almost never a pure art problem. They are a positioning problem, and you cannot fix what you cannot see.
Enabling visual debug collision boxes during runtime makes the engine's understanding of your character visible. If the collision box is centered instead of aligned to the feet, that is the problem. If the box is not moving with the sprite, that is the problem. If the box is sized for one animation state but not updated for another, that is where attacks miss and characters clip through geometry they should pass through cleanly.
The fix is always the same: drag, reposition, lock it in, test again. Debug collision boxes turn that process from a guess into a diagnosis. This step has to come before hitbox configuration. You need to see what the engine sees before you can configure hitboxes correctly.
Enabling debug collision boxes during runtime makes the engine's understanding of your character visible. If the box is centered instead of foot-aligned, that is your problem — not the art.
Wednesday: anchor points, the single pixel that controls everything
Before you can diagnose positioning with debug boxes, the anchor point has to be set correctly. Wednesday went one level deeper into the alignment problem. An anchor point is the single pixel the engine uses to calculate position, rotation, and collision. That one pixel is the reference point for everything else in the character's relationship to the game world.
Most engines default to the center of the sprite rather than the feet. The result is characters that float above the ground by exactly half their height, sink into the ground by exactly half their height, or jitter unpredictably between animation frames when the frame dimensions are not perfectly consistent. None of those are art problems. They are anchor point problems.
Makko lets you set the anchor point once at the manifest level and it updates automatically across every frame in every animation state. You do not have to touch it again unless you deliberately want to change it. This is a small thing that has a large practical effect on how long it takes to get a 2D character feeling right in-engine.
Why most engines default to the center of the sprite instead of the feet — and how setting the anchor point once in Makko's manifest fixes floating, sinking, and jitter across every animation frame automatically.
Tuesday: two posts, one underlying question
Tuesday was the heaviest publishing day of the week. Two posts, two completely different angles on the same underlying question: what does it actually take to get game-ready art out of an AI tool and into a working 2D game?
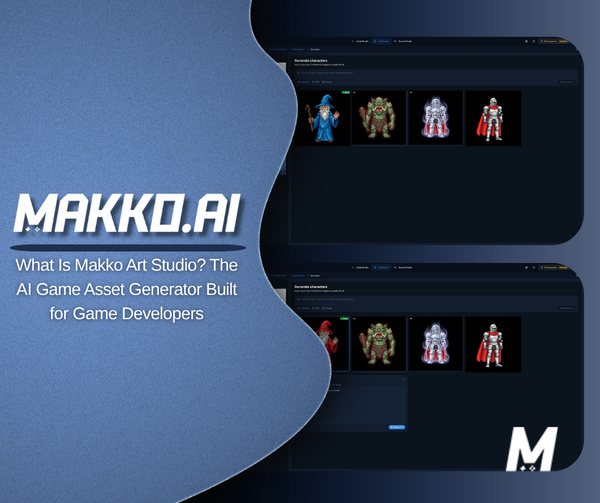
The Art Studio deep dive answered the workflow question directly. Most solo developers are running four separate tools just to get one character into their engine. Makko Art Studio replaces that entire stack. Describe what you want, and the output arrives with transparent backgrounds, animation frames, and the correct file format already handled. No coding. No manual reformatting between tools.
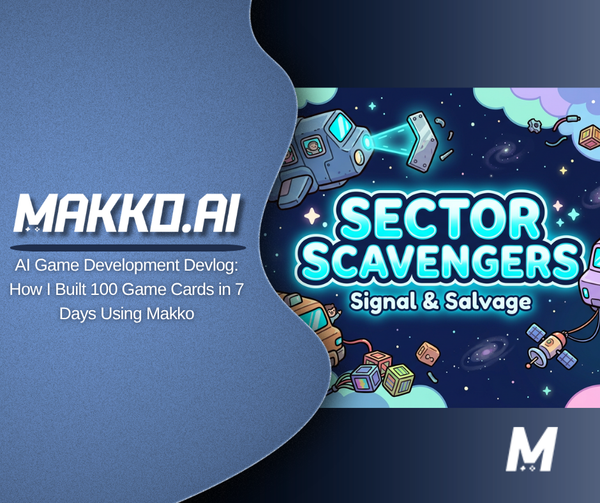
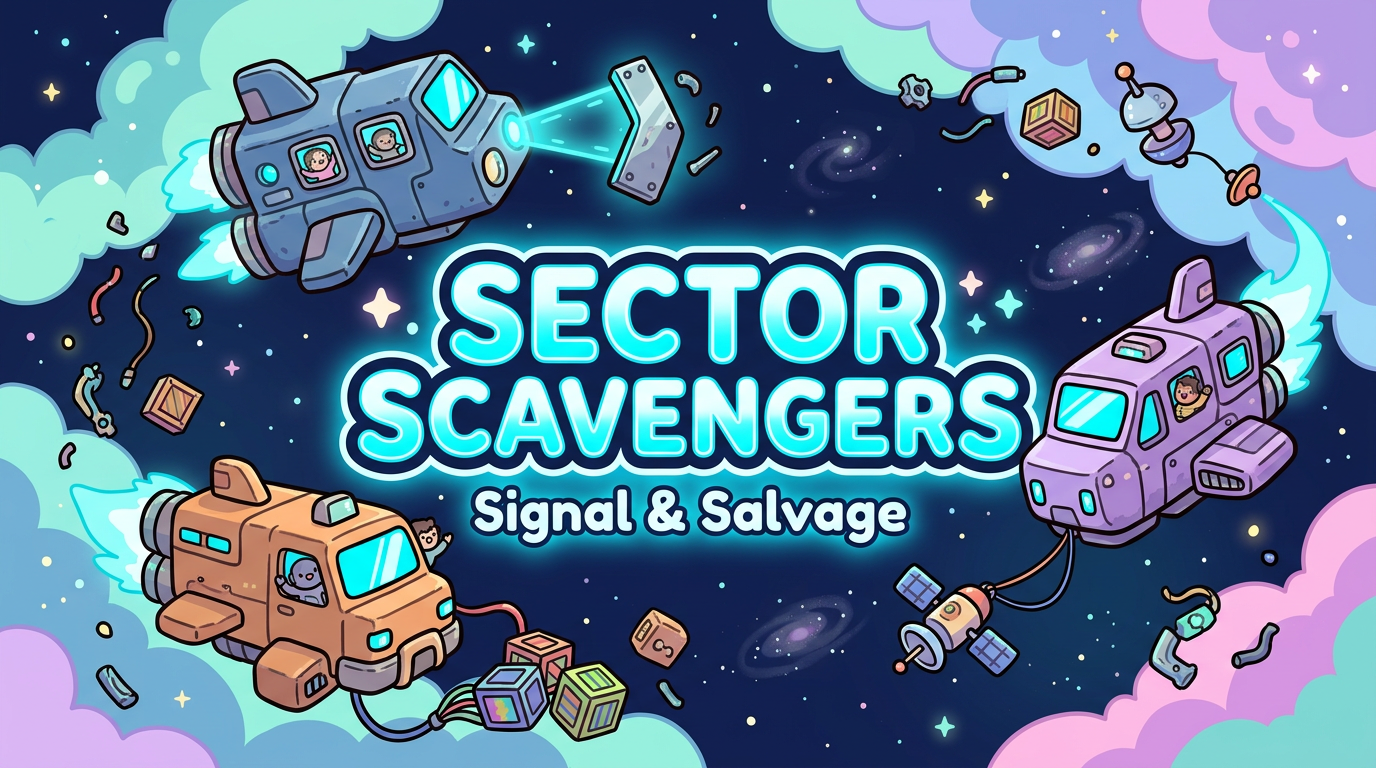
The second post was a devlog from Tony Valcarcel, one of Makko's co-founders, documenting how he built over 100 unique card assets for Sector Scavengers, a roguelike salvage game, in 7 days for under $500 with no dedicated artist on the team. The post is a full breakdown of every card type, its mechanics, and the design questions that only playtesting can answer. Not a polished outcome, but a working hypothesis generator that compresses the distance between an idea and a testable artifact.

Monday: character alignment, where the pipeline starts
Everything this week traced back to Monday's post, which established the foundation the entire pipeline depends on. Perfect art and animation can still look completely wrong in-engine if alignment is off. A character that floats above platforms, sinks into the ground, or shifts position between animation frames is almost never an art problem. It is an alignment problem.
Monday's post established the three variables that have to work together: anchor point, scale, and position. Most engines scatter these controls across different menus, panels, or configuration files, and none of them show you the result in context while you are adjusting them. Makko's manifest puts all three in a single editor so you can see exactly what you are changing and what effect it has before you commit.
If alignment is wrong at the manifest level, no amount of correct anchor point or hitbox work will fix how the character behaves in-game. That is why alignment is step one, and everything else this week followed from it.
How anchor point, scale, and position work together in Makko's manifest editor, and why getting all three right is the first step before any animation or hitbox work begins.
The complete pipeline in one place
Now that you have seen each piece in reverse, here is the full sequence in order:
Step 1: Alignment. Before anything else, anchor point, scale, and position have to be correct at the manifest level. If these are wrong, nothing downstream will fix the character's behavior in-engine.
Step 2: Anchor point. Set the anchor to the character's feet, not the center of the sprite. Set it once at the manifest level and it propagates across every frame automatically.
Step 3: Debug collision boxes. Enable them during runtime before configuring hitboxes. Make the engine's understanding of the character visible so you are diagnosing rather than guessing.
Step 4: Hitboxes per animation state. Configure hitboxes for each animation state separately. Fit to the majority state, not the maximum extent. Test with debug boxes active until every state is physically accurate.
This is not a Makko-specific workflow. These are the steps any solo developer needs to follow in any engine to get 2D character behavior right. What Makko does is put all four controls in a single place inside the manifest so you can work through them in context rather than hunting across different editor panels and configuration files.
For detailed walkthroughs and live feature demos, visit the Makko YouTube channel.
Everything published this week
- What Is Makko Art Studio? The AI Game Asset Generator Built for Game Developers
- AI Game Development Devlog: How I Built 100 Game Cards in 7 Days Using Makko
- One Pixel Art Character, Two Games: How to Build Genre-Specific Sprite Animations
- The Team Behind Makko AI: Amazon, PAX, and a Different Vision for Game Development