
Vampire Survivors-Style Game and Art With AI: Prompt to Prototype
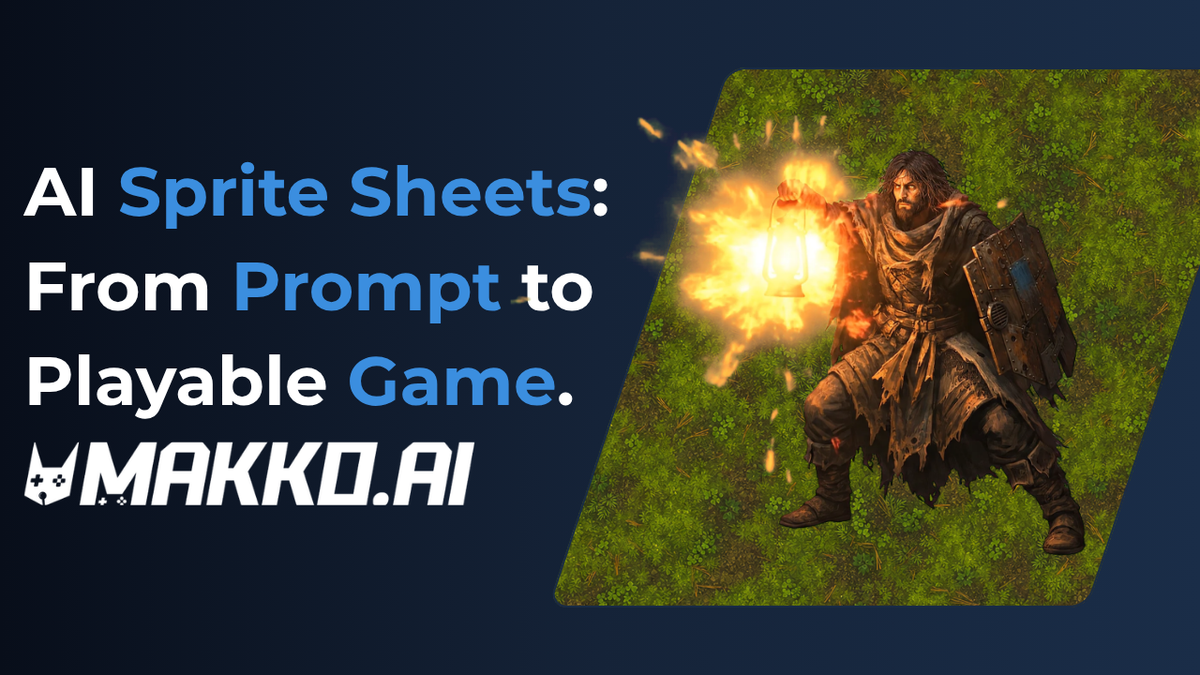
This is a guide about the art: a full Vampire Survivors-style set that stays in one style, a hero with real animations, the first two enemies, a battlefield, and every piece dropped into a playable prototype the same session so you see it in context instead of in a folder. It's the exact workflow from our video, written step by step, on Makko's free tier (a 150 monthly art budget plus 70 weekly requests, no card).
I'm Tony, co-founder at Makko. The game here is a demo project for the channel, and the build below is the one from the video: watch it, or follow the written steps at your own pace.
First, a container for the art: the ten-minute prototype
Before any art exists, spin up the playable prototype it will live in. Your first result will be geometric shapes, a blue dot auto-firing at moving enemies, and that's the point: every asset you make afterward drops into something already running, so you do some tuning and find the fun before you insert your art and judge what it looks like in motion, in context...all in the same session, using one tool, Makko.ai.
Step 1: The quick prototype your art drops into
Log in, and from the dashboard click New Game. Name the project (if your GitHub is connected you can create a repository for state management, useful for rolling back mistakes) and Create Project. Then tell it what you want in plain English:
I want to build a game like Vampire Survivors: a main character, enemies that drop experience gems, leveling up, and new skills and weapons.
Makko thinks, then returns a plan. Read it, correct anything it misunderstood, then press Approve Plan. When it finishes you have the shape-based prototype: hero, enemies, auto-fire, levels. The container exists. Now the real work: the art.
Step 2: Create a Collection and make concept art
Back at the dashboard, click New Collection and name it. Collections are where your game's look, feel, and style get established through concept art that becomes reference images, and every future asset inherits from them. First concept prompt, describing the scene rather than any style:
An adventurer with a makeshift lantern and shield, walking across a battlefield.
Step 3: Choose your art style by sampling, never by guessing
Makko has 12 art styles. Instead of committing blind, run the same concept prompt across several styles and compare the results side by side; in the video we sampled eight and chose painterly. This is the single highest-leverage decision in the project, because everything downstream inherits it, and sampling turns it from a guess into a choice. Once you've picked, generate a few variations of the concept in that style and save them as reference images; they travel with your prompts from here on and keep every asset in the same world.
Step 4: Organize with sub-collections
Create a Characters sub-collection, and under it one for your hero (ours is the scavenger). The rule that keeps consistency working: every new collection or sub-collection gets populated with reference images first, before you generate anything in it. Reuse the concept art you already saved. Sub-collections also keep assets organized for export if you later take them to an engine like Godot, Unity, or Unreal.
Step 5: Extract reference sheets
Reference sheets turn concept art into the precise per-element references that animations are built from. From the collection, click Generate Image, set the first filter to Image, and choose Reference Sheet. Then extract one element at a time:
Extract only the scavenger.
Repeat for the lantern and the shield, so each exists as its own item and can be animated or used as a prop independently.
Step 6: Animate with presets
Select the reference sheets you want in the shot (the scavenger, his lantern, his shield), then either write a freeform animation prompt or pick from Makko's presets: Run, Walk, Jump, Attack, Take Damage, Die, and Cast a Spell. Two habits from the video worth stealing: generate two versions per animation so you have options, and queue several animations at once, since animations, unlike images, can run in parallel. Save the keepers with the Save button, which opens the animation details page where you can move, delete, clone, and reverse frames or change the speed, which is where a near-miss becomes a keeper without regenerating anything.
Step 7: The first two enemies, same pattern
The enemy workflow is the hero workflow. Take a battlefield concept you already have and add bats to it, then Reference Sheet: extract only one bat, then animate it. Repeat the pattern for your second enemy, and that's the loop for every enemy your game will ever need: appear in concept, extract, animate.
Step 8: The background, with the lesson baked in
Create a Backgrounds sub-collection, populate it with your concept art, then generate:
A top-down battlefield seen from above the character, high contrast with the player, uncluttered.
The last two words are the lesson from step 10 applied in advance; you'll see why.
Step 9: Wire the assets into the game
In Code Studio, the cube icon at the bottom of the left toolbar opens your asset library; add your saved animations and background to the project. Then the robot-head icon returns you to the AI assistant, where you ask it to put the new assets into the game; typing @ (shift plus 2) lists every asset in the project so you can reference them precisely. The shapes become your painterly scavenger, the enemies become bats, the battlefield appears.
Step 10: The readability pass
Here's the honest part most tutorials cut: our first assembled version was hard to read, the background, player, projectiles, and bats blending into similar tone and contrast. The fix was one instruction: ask Makko to use industry best practices to raise contrast between the background, the player, and the projectiles, and make the background less busy. Readability is a design property, and it's fixable in plain English after you can see the problem, which is exactly why the game-first build order pays off.
The Starter Kit: This build in one sitting
- Code Studio: New Game, name it, Create Project.
- Prompt: "I want to build a game like Vampire Survivors: a main character, enemies that drop experience gems, leveling up, and new skills and weapons." Read the plan, fix anything wrong, Approve Plan.
- Dashboard: New Collection, name it.
- Concept prompt: "An adventurer with a makeshift lantern and shield, walking across a battlefield."
- Run the same concept across several of the 12 art styles, pick your favorite, generate variations, save them as reference images.
- Create Sub-collections: Your first sub collection should be "Characters", then your hero under it, I called this "Scavenger"; populate each with reference images first, always.
- Generate Image, filter Image, Reference Sheet: "Extract only the scavenger." Repeat for lantern and shield.
- Select the three reference sheets (Hero, Shield, Lantern), animate with presets: Walk, Attack, Die, Cast a Spell. Two versions each, save the keepers, tighten frames on the details page.
- Enemies: add bats as a subcollection and create a battlefield concept art with bats, extract one bat, animate it; repeat the pattern for a second enemy.
- Create your "Backgrounds" sub-collection: use this prompt for your first set of backgrounds: "A top-down battlefield seen from above the character, high contrast with the player, uncluttered."
- Code Studio: cube icon, add your assets; robot icon, ask Makko to put them in the game, using @ to name them.
- If anything blends: "Use industry best practices to raise contrast between the background, the player, and the projectiles."
FAQ
Do I need to know how to code? No. You describe the game, read the plan Makko proposes, correct it in plain English, and approve it. The output is real TypeScript in organized files if you ever want to look under the hood.
How does the art stay consistent? Reference images, chosen once through style sampling, travel with every generation, and reference sheets give each element a precise source. Describe what things are; the style is carried for you.
Can I take the assets to Godot or Unity? Yes; sub-collections keep everything organized for export, and the engine path is laid out in the Godot game art workflow.
How many art styles are there? Twelve. Sample several with the same concept prompt before committing; it costs a few generations and saves the project.
Is this free? The free tier includes a 150 monthly art budget and 70 weekly requests, no card, which covers this entire build.